
Ignition Timing Guide for Yamaha RD350 Two-Stroke Engines
Original guidance below is preserved as written. New subheadings, quick-reference data, and an FAQ have been added around it to make the page easier to navigate and to answer the related questions RD owners commonly search for; no original wording has been changed.
Ignition Timing Guide for Yamaha RD350 Two-Stroke Engines
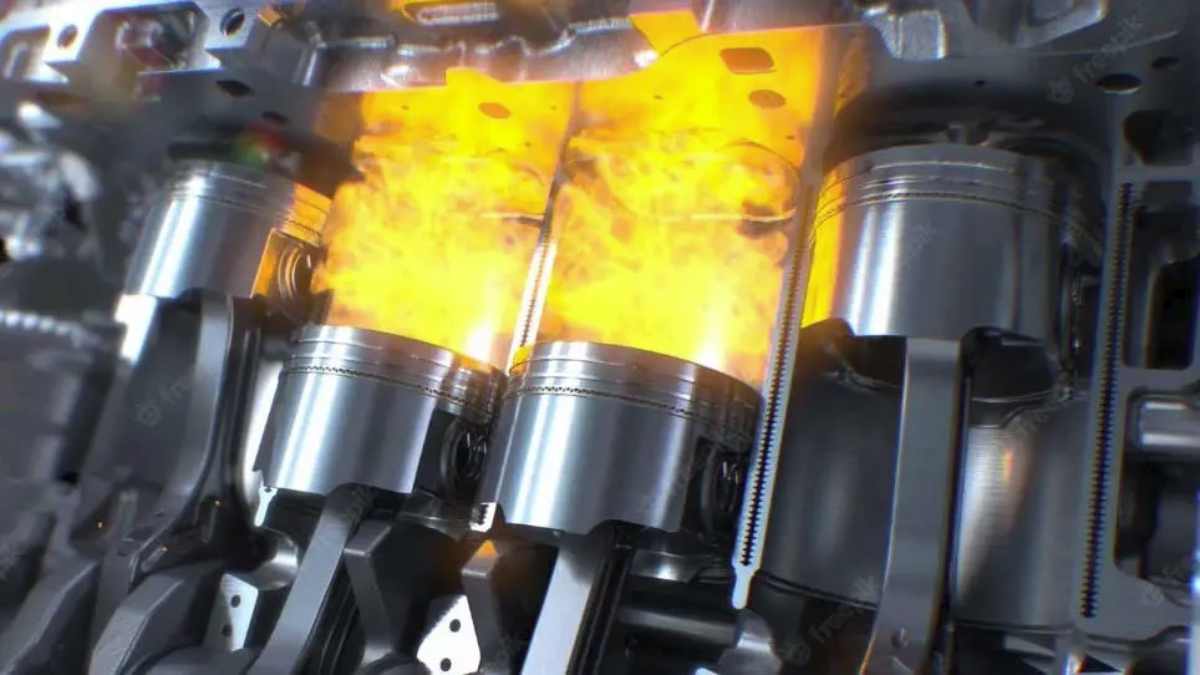
Advance = the amount of angular measurement that the spark happens before the piston reaches top dead center (TDC) on the power stroke. Retard is less amount of advance. Internal combustion engines need to start the combustion fire before the piston reaches TDC because it takes an amount of time to get the gases burning. The spark happens before TDC, this is called BTDC. If you don't start the gases burning BTDC a lot of the energy will be lost. Obviously making the burn happen at the right time is important in the production of power. Many automotive engines have a mechanism to change the ignition timing as the revolutions per minute (RPM) goes up. The faster an engine turns the ideal time of ignition varies (the faster it turns the more advance is needed). Yamaha RDs do not have an ignition advance mechanism. Some automotive engines have mechanical advancers and some have electronic advancers. Your bike has neither. The specification from Yamaha is that the ignition happens at 2.00 MM BTDC. They could have said 19 degrees of crank angle but that is harder to measure. You would need some kind of degree wheel attached to the crank to measure degrees. With a dial gauge, you can measure 2.00 MM BTDC, which is a very good substitute for angular measurement.
Yamaha RD350 Ignition Timing Spec at a Glance
(New section — for readers searching "rd350 ignition timing spec" or "rd350 timing degrees BTDC".)
| Spec | Value |
|---|---|
| Factory ignition timing | 2.0mm BTDC (fixed — no advance mechanism) |
| Point gap | 0.3–0.4mm (0.012–0.016 in) |
| Ignition type | Dual contact-breaker points, one set per cylinder, with coils and condensers |
| Cylinder-to-cylinder tolerance | Within 0.05–0.10mm of each other for balanced running |
| Common "safer on modern fuel" setting | 1.8mm BTDC (slightly retarded from factory) |
The 2.0mm BTDC figure corresponds to roughly 19–20 degrees of crank angle before top dead center, which is why the factory manual expresses it as a piston-travel distance rather than a degree number — it's far easier to measure accurately with a dial gauge through the spark plug hole than to rig up a degree wheel on the crank.
How to Set Ignition Timing on Yamaha RD350 Two-Stroke Motorcycles
SO HOW DO I TIME THE BIKE?????? If you have a dial gauge you use it to make sure the ignition marks on the rotor and stator window line up at the time you want ignition to occur. If you do not have a dial gauge, I guess you have to trust Yamaha that they manufactured the bike with some quality controls in place and the marks are at least close to correct. Before you attempt timing you need to make sure the ignition points are set correctly. Why? Because the coils need a minimum amount of time to saturate (gain full charge). The manual suggests a point gap of 0.3mm. Make sure the points are all the way open before measuring and adjusting and make sure they are clean. Wipe them when they are closed with a white business card (you know the kind that a businessman has with his name and address on it). When the points are closed, open the points with your finger and insert the card (.25mm white card stock will work) close the points and slowly remove the card without tearing. Do this until the points leave no mark on the white card stock. Timing the bike you want the points to open at exactly the same time as the timing marks come into alignment. If you have timing light this is easy to do. But in case you don't have a timing light you can use an ohmmeter to do the same thing. Hook up the meter and watch it and the timing marks at the same time. As the marks come into alignment the needle on the meter should swing from 0 ohms to infinity ohms. Oh, you don't have an ohmmeter?????????? Try this little trick; the ignition switch needs to be turned on for this trick to work. What you do is hook up a small light bulb (12V) to the ignition points as one connection and the positive terminal of the battery as the other. The points are closed sending electricity through the condensers to the earth, hence the bulb doesn't light up. When the points open the coil fires and your bulb lights up at the same time. You want your bulb to light up as the timing marks align. Simple?
How to Time an RD350 Without a Dial Gauge or Timing Light
(New section — for readers searching "how to set rd350 timing without timing light" or "rd350 timing without dial gauge".) The three methods above — timing light, ohmmeter, and the 12V test-bulb trick — are listed roughly in order of accuracy but also in order of what most home garages already have on hand. If you're missing all three, a basic automotive continuity tester or multimeter set to continuity/beep mode works exactly like the ohmmeter method: connect it across the points, and it should switch from continuous ("closed circuit") to open the instant the points break — that's your ignition event. Whichever method you use, the point gap has to be correct first, since a wrong gap changes when the points open relative to piston position and will throw off even a perfect dial-gauge reading.
Setting Point Gap Correctly Before Timing
(New section — for readers searching "rd350 point gap" or "rd350 breaker points setting".) Each cylinder has its own set of points, so both need to be gapped and timed independently — the article's business-card trick (feeling for the card releasing cleanly as the points just touch) is a genuinely reliable low-tech substitute for a feeler gauge, and worth doing even if you own one, since it checks for full point-face contact, not just a numeric gap. For best running, both cylinders' point gaps should match each other closely, and once set, their timing should track within about 0.05–0.10mm of one another — a cylinder that's noticeably out of step with the other is the most common cause of an RD350 that vibrates or feels "lumpy" despite each cylinder timing correctly on its own.
Adjusting Ignition Timing for Yamaha RD350 Without Advance Mechanism
Timing…the next frontier. Since you do not have an advanced mechanism on your RD you have to choose a number and live with it. 2.00 MM will be OK both top and bottom. You have to decide what is best for you. Be careful about advance. Some gasoline works better than other gasoline. Some like advanced ignition timing(93 octane and more), other gasoline does not like advanced ignition timing(87 octane).
Hence if somebody says retard your timing they mean make it fire closer to TDC or with less advance.
Should You Retard RD350 Timing for Modern Pump Gas?
(New section — for readers searching "rd350 timing modern fuel" or "why retard rd350 timing".) This is a live debate in the RD community rather than a settled answer, which is why the original article above stops short of giving you a single number and instead tells you to "choose a number and live with it." A commonly cited compromise among long-time RD tuners is to set timing slightly retarded from the 2.0mm factory spec — around 1.8mm BTDC — specifically because today's pump fuel behaves differently under compression and heat than the fuel the RD350 was originally mapped for in the 1970s, and a touch less advance reduces the risk of detonation on a stock, high-compression top end. If you're running race fuel, methanol, or a specific known-good pump gas with more octane headroom, staying closer to the factory 2.0mm is more defensible — which is exactly the "decide what is best for you" judgment call the original article is pointing at.
Frequently Asked Questions
What is the correct ignition timing for a Yamaha RD350? Factory spec is 2.0mm BTDC (roughly 19–20 degrees of crank angle), set and measured the same way on both cylinders. Some tuners run it slightly retarded, around 1.8mm BTDC, on modern pump fuel as a safety margin against detonation.
What is the point gap on a Yamaha RD350? 0.3–0.4mm (0.012–0.016 in), set with the points at their maximum opening, not at TDC. Each cylinder's points are gapped separately.
Can I time my RD350 without a timing light? Yes — the original article covers two no-timing-light methods: an ohmmeter watching for the points' 0-to-infinity-ohms transition, or a simple 12V test bulb wired across the points that lights the instant they open. Either works as long as your point gap is already set correctly first.
Why does my RD350 vibrate or run rough even though each cylinder times correctly? Check that both cylinders are timed within about 0.05–0.10mm of each other, not just individually correct — a mismatch between cylinders is a common cause of a lumpy-feeling RD350 even when neither cylinder is technically out of spec on its own.
Does the RD400 use the same ignition timing spec as the RD350? No — the RD400 runs to its own factory spec (commonly cited around 2.4mm BTDC on points-ignition models) and later production years moved to CDI ignition rather than breaker points, so don't carry the RD350's 2.0mm figure over to an RD400 without checking its manual.
Should I upgrade my RD350 from points to electronic ignition? Points ignition requires the periodic gap and cleanliness checks described above and is sensitive to wear, but it's simple, cheap to maintain, and original to the bike. An electronic ignition conversion removes the point-wear variable and can hold timing more consistently, at the cost of an aftermarket part and a wiring change — see the Ignition Modification page for what that conversion involves on an RD350.
Related RD350 Tuning Resources
(New section — extra information and internal links, not part of the original guide.)
- Detonation isn't only an ignition-timing problem. If you've retarded your timing and are still seeing detonation symptoms, squish clearance and compression are the other half of the equation — see Squishing: The Art of Squish for the full explanation of how squish band and detonation interact.
- Converting to electronic ignition removes point gap and timing drift as a maintenance item — see Ignition Modification for the RD350-specific options.
- Carburetion and ignition timing move together — richer or leaner jetting changes how sensitive the engine is to advance — see Carburetor Tuning and Basic 2-Stroke Tuning.
- Confirm your bike's exact factory spec before deviating from it — the RD350 Workshop Manual and the Yamaha RD350 Wiring Diagram (Color, USA Model A/B) cover the points, coil, and condenser wiring in full.
- For a full model-by-model spec comparison, including how ignition type changed across the RD350, RD400, and later YPVS models, see Specifications.
- If you're chasing more power alongside a fresh timing job, see Torque and Horsepower and Modification Engine for what else moves the needle once timing and points are dialed in.